 This is Little Guy (Conure)
 This is Fred (on the right, he's an Orange Wing) and Barney(he's on the left, he's a Blue Front)
This is Little Guy (Conure) This is Fred (on the right, he's an Orange Wing) and Barney(he's on the left, he's a Blue Front)
This is Fred (on the right, he's an Orange Wing) and Barney(he's on the left, he's a Blue Front)
This is Little Guy (Conure) This is Fred (on the right, he's an Orange Wing) and Barney(he's on the left, he's a Blue Front)

 |
| This is the same basic box from Tags, Bags, Boxes and More. Done in 3 sizes, fit to page using a 12x24 mat, a 12x12 mat and a 6x12 mat |
 |
| Heart Closure Box from Tags, Bags, Boxes and More, cut as big as I could fit on the mat, 8.29 inches |
 |
| Again, Tags, Bags, Boxes and More, cut on a 6x12 mat. |
 |
| This open box is from Cindy Loo, and the letters are from Lyrical Letters, this was cut at 7", slanted to fit on the mat |
 |
| This is a pillow box, cut as big as I could fit on the mat, I stamped a pattern on the cardstock before cutting. I used the Easter 2010 cartridge and my gypsy to omit the rabbit cut out. Several cartridges have a pillow box cut. |
 |
| I used the Gingerbread cartridge for this cut. The point of this is to show a cookie, an ornament, bookmark, package decoration feature. One simple cut can be used so many ways. |
 |
| A basic card from A Child's Year, I just let the Cricut cut out the card and the flowers, I put pearlized paper behind the cut outs, and it will make a great all occasion card. |
 |
| This card and matching envelope are from Damask Decor. The sentiment is from Beyond Birthdays |
 |
| Recipe Card made used From My Kitchen and the cherries from Preserves |
 |
| All cuts were from Freshly Picked. This would be a great gift card holder for a gardener. |
 |
| I used the Nifty Fifties cartridge and vinyl to decorate this water bottle. |
 |
| This is a cupcake holder from the Cricut Lite Cupcake Wrapper Cartridge, the wrapper was cut at 3" as was the daisy to go on top of the cupcake. I sponged some pink on the bottom ruffle edge, although it didn't come out as nice in the photo as in real life. I used some self adhesive rhinestones for the center of the flowers. |
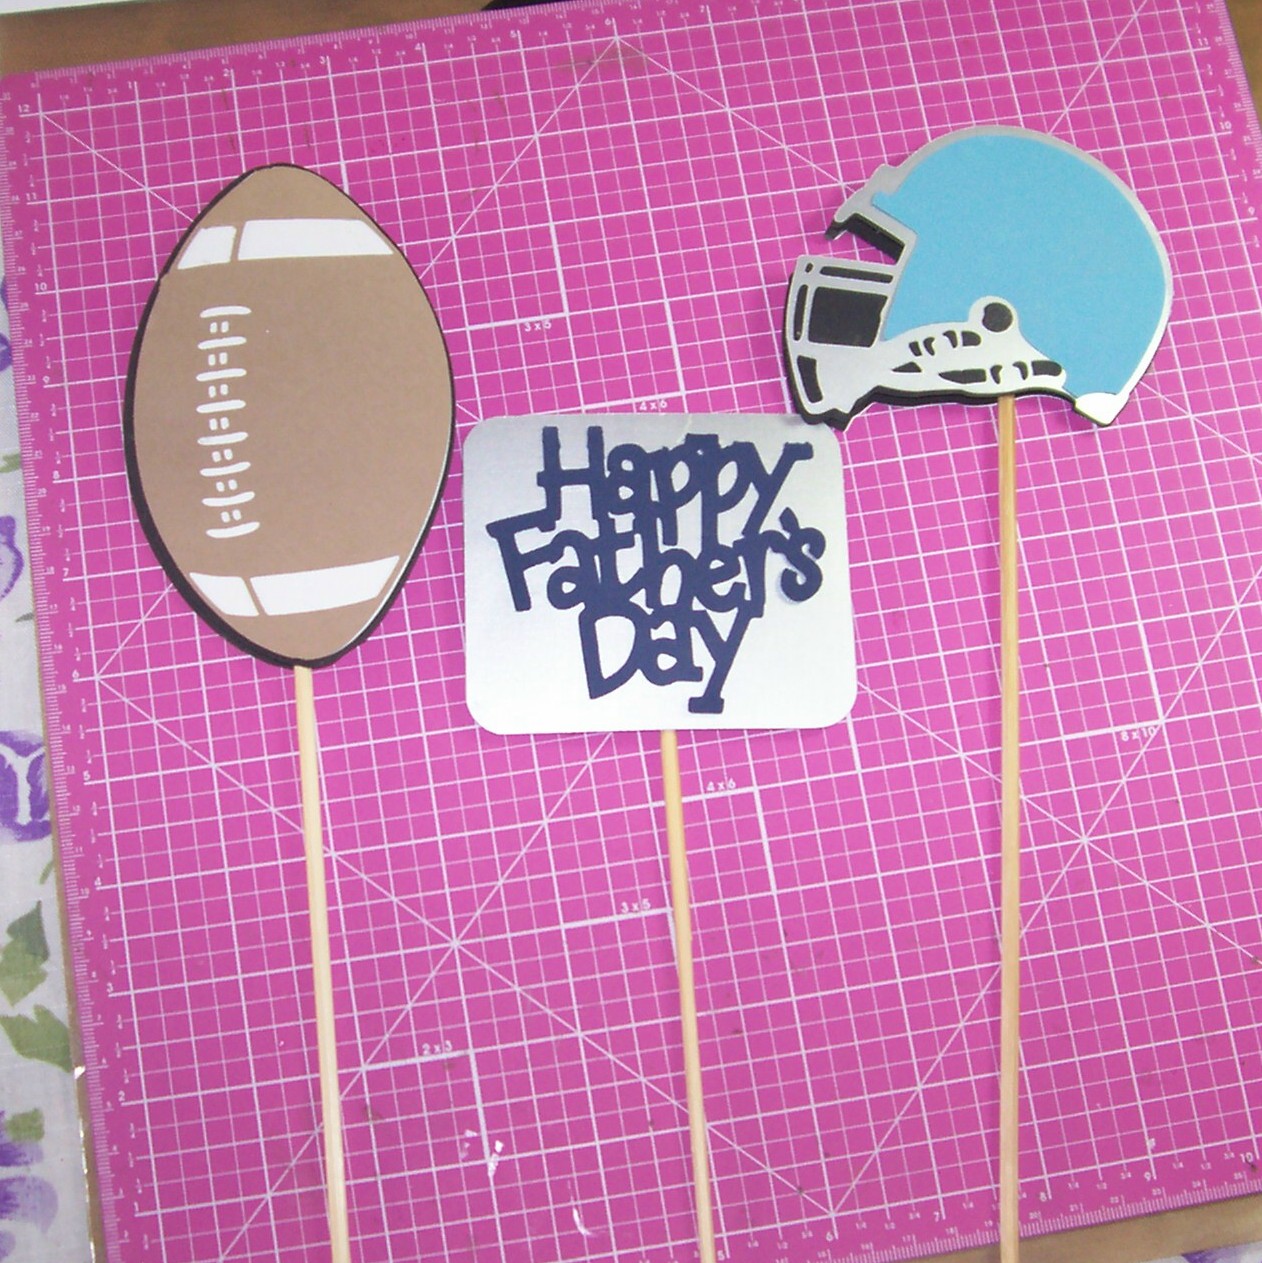 |
| These are pokes, I used them in a sucker bouquet for last year's Father's Day barbecue, these I borrowed from my husband to show. Sports Mania for the football and helmet, Beyond Birthdays for the sentiment |
 |
| This is my first banner, ever, I made it using Mini Monograms, about a 6" circle, layered light pink under dark pink. I used the 5 petal flower from this same cartridge, cut 5 times at decreasing sizes, and lightly rolled the petals |
 |
| This is our cat Rex, she was tired from helping me make all these cuts, so she took a nap in the sunshine. |


 | |
 |
| Supplies: Two pieces of card stock, any color, I used A-2 size card stock. Of course, you'd use pretty coordinating paper, I just white to show the steps. You will also need die cut images (the Panda is 3" and the hearts are 1"), glue or tape, bone folder, ruler, exacto knife and a pencil. |
 |
| On the back of the inside piece of card stock I drew the pop-up lines. The wide lines in the center support the Panda, and are 1-1/2" long and 1" wide. This size will vary depending on how far into the card you want the image to pop and how big the image is. For the hearts, I used used 1" long lines and 1/4" wide. |
 |
| Use the exacto knife to cut along the pencil lines. You use the bone folder to score a line to connect the lines. Don't cut where you score, if you do, you will have empty space. Just try again. Been there, done that, LOL!!! |
 |
| Push the pop ups into the card. See the photo, you're making little steps. Again, make them any size you need to support your image |
 |
| I attached one heart to the bear, and I'm getting ready to attach the Panda and the other hearts. |
 |
| First glue on the images in the back, which are the hearts. Make sure they are just a smidgen above the card stock, so when you fold the card the hearts don't wrinkle. Then attach the Panda, the same as the hearts. |
 |
| The back of the inside of the card |
 |
| Attach the second piece of card stock so that it hides all the cuts. That way you can stamp and decorate the outside of the card. |
 |
| Side view so you can see the hearts don't stick out as far into the card as the Panda does. |
 |
| Front view. |
 | Assemble your supplies. I didn't try to camouflage the pop-up strips, if this were a card I was giving to someone, I would decorate the card stock, and use paper strips that blend into the background. |
| Supplies |
 |
| Score the strips at 1/2" (this attaches to the card stock) then at the other end 1" and 1/2" (these will attach to the back of the Panda) |
 |
| Strips attached to the Panda, I only used 2 strips, you can use more or less depending on the size of your image. |
 |
| Use glue and attach the strip to the card stock. Dry fit first to make sure the Panda stays inside the folded card. If your strips are too long, shorten them. There isn't a set length, just use strips that fit your design. I attached a pop-dot to the heart. The Panda just sits on the bottom part of the card, it's not glued or attached, it needs to move so it can lay down when the card folds. |
 |
| Finished Assembly |

